Desktop Application Guide#
Initial Download#
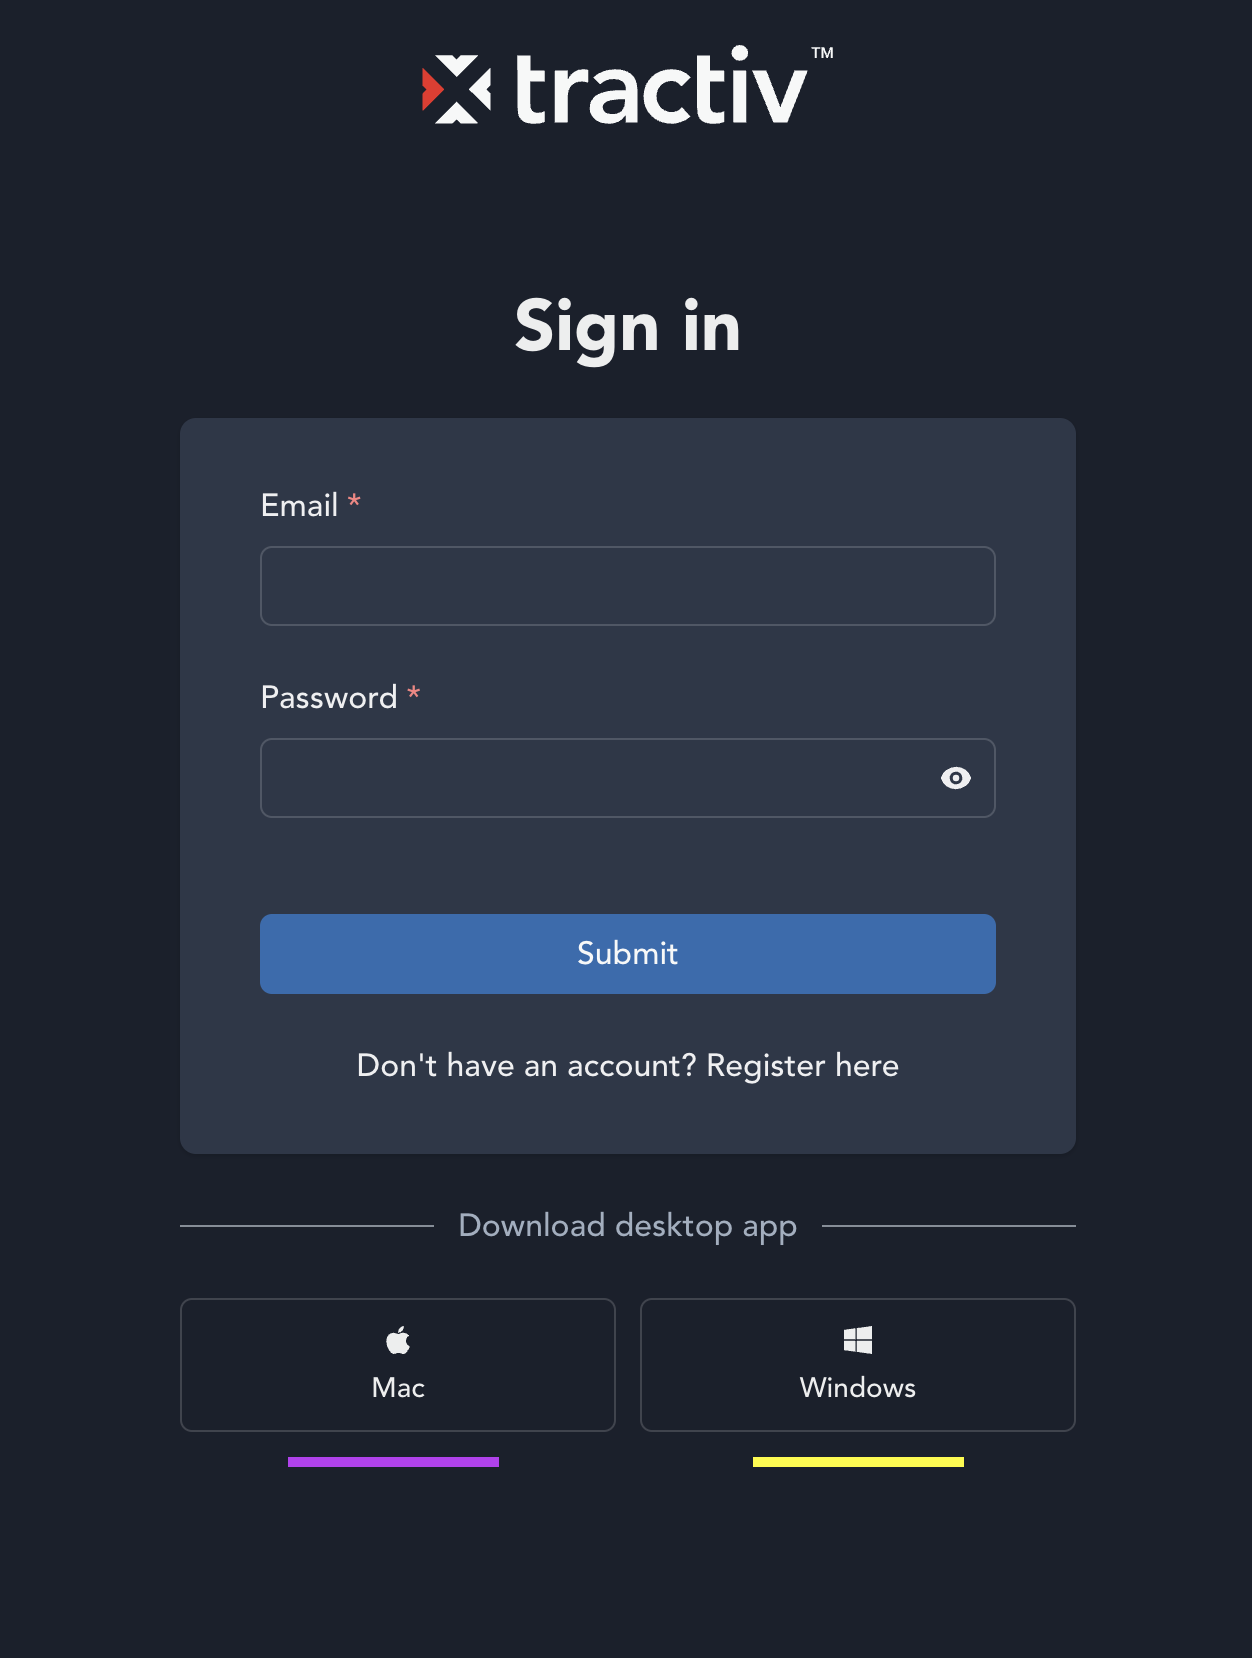
Navigate to app.tractiv.com. Shown below is exactly what you will see on your screen. Select your system from the provided options (seen above the purple and yellow lines) to start your download. Please follow the Mac or Windows install guide accordingly.
Mac#
Install#
After you have downloaded Tractiv, you will now need to either double click on the file in the bottom left hand corner of your screen named Tractiv or you can go into your downloads folder and click on the file there. Upon opening, you will be brought to the screen below. Go ahead and drag Tractiv into your applications. We are moving along!
Open#
Next, open up your finder window and go into your applications, from here you should now see Tractiv inside applications! Double click and you should see Tractiv start up as seen.
Windows#
Install#
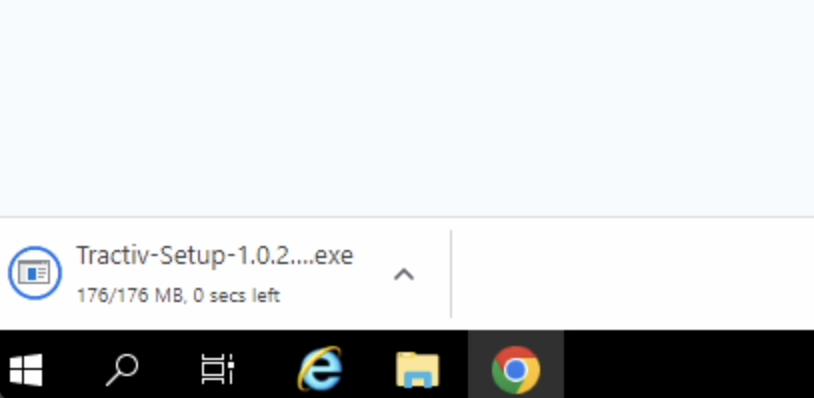
After you have downloaded Tractiv, you have two options to open the file. Either double click on the file in the bottom left hand corner of your screen named Tractiv-Setup (shown below) or you can go into your downloads folder and click on the file there.
Open#
Upon clicking on the file, the application will begin to open and install on its own. It will appear as shown below.
Login Setup#
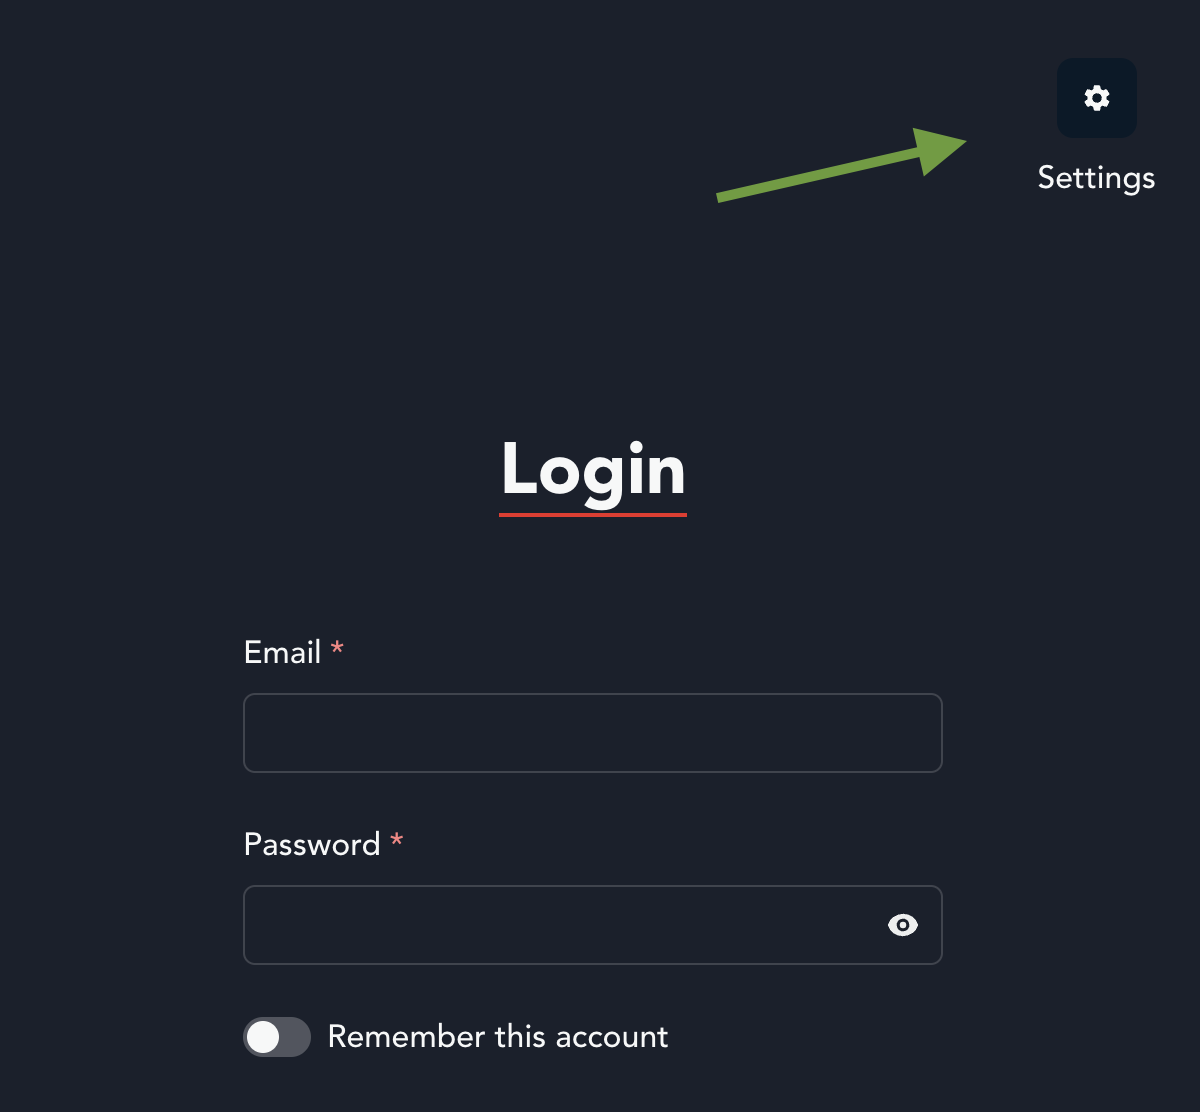
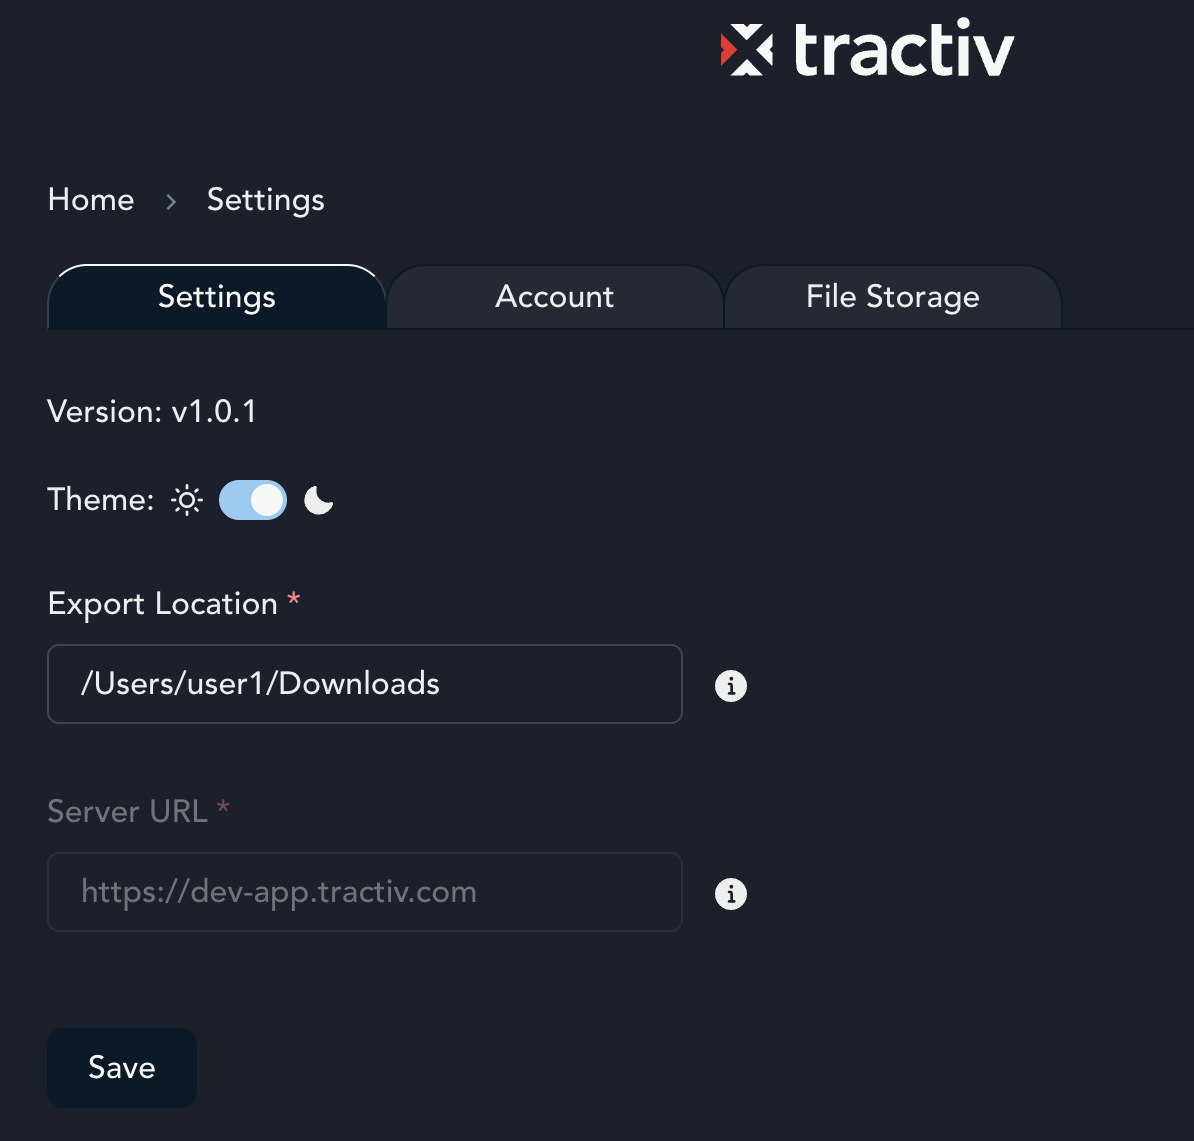
BEFORE ENTERING CREDENTIALS AND ATTEMPTING TO LOG IN, The first thing you need to do is go to the top right hand corner gear icon and enter into settings. It will take you to the page below.
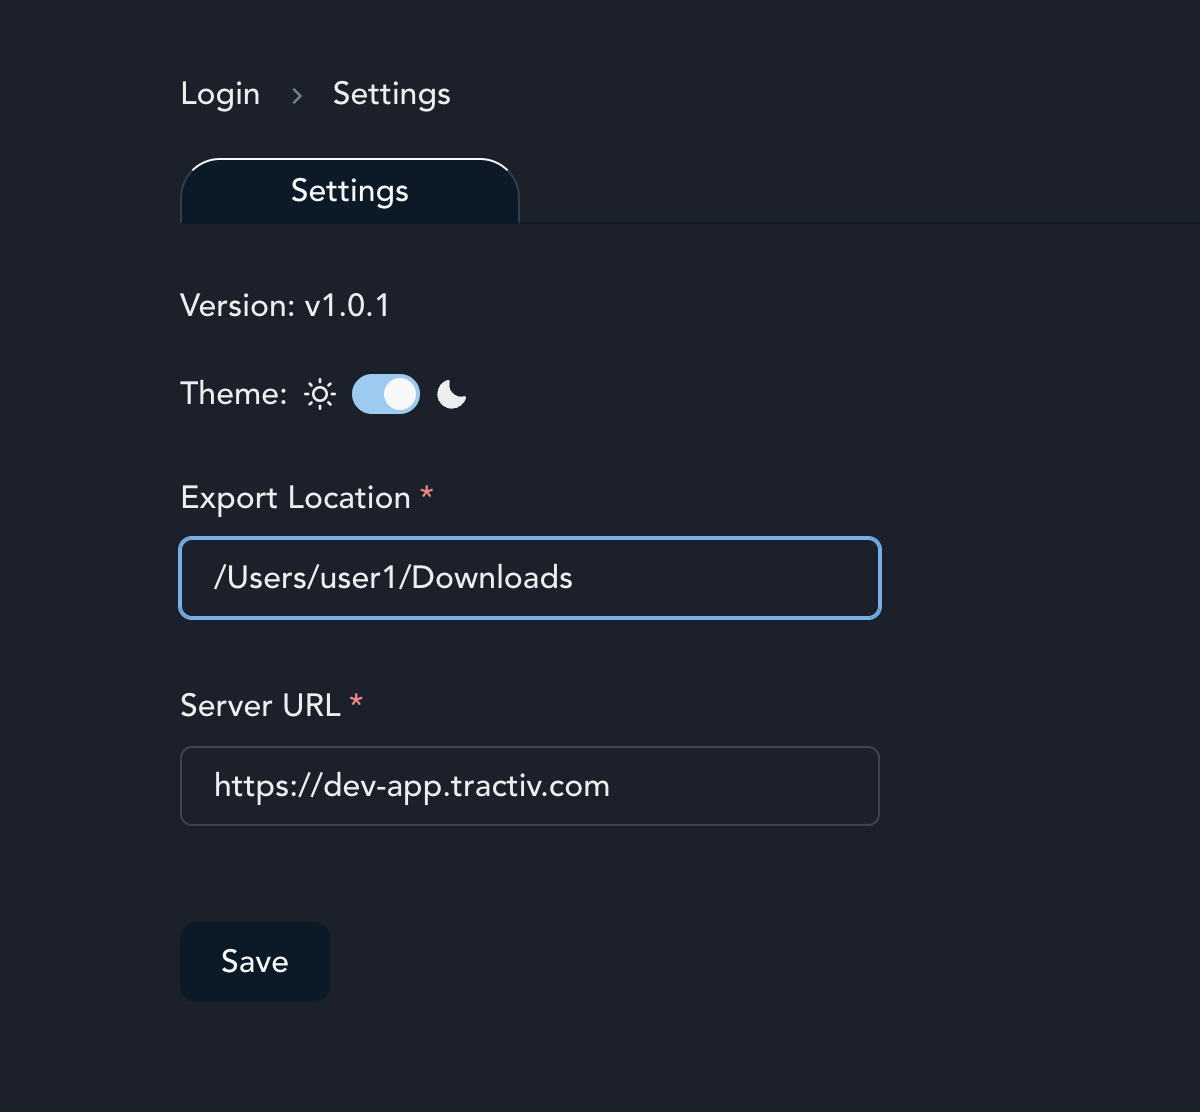
Here, you need to make sure you have the proper export location (where your files will go when you move a file from the application to your local computer) and server URL (what the application is pointing to as a server and for data). The server URL should be provided to you by your employer, whereas the export location is your choice to make. For further explanation of export please go to the individual project page info and scroll down to Export.
Register#
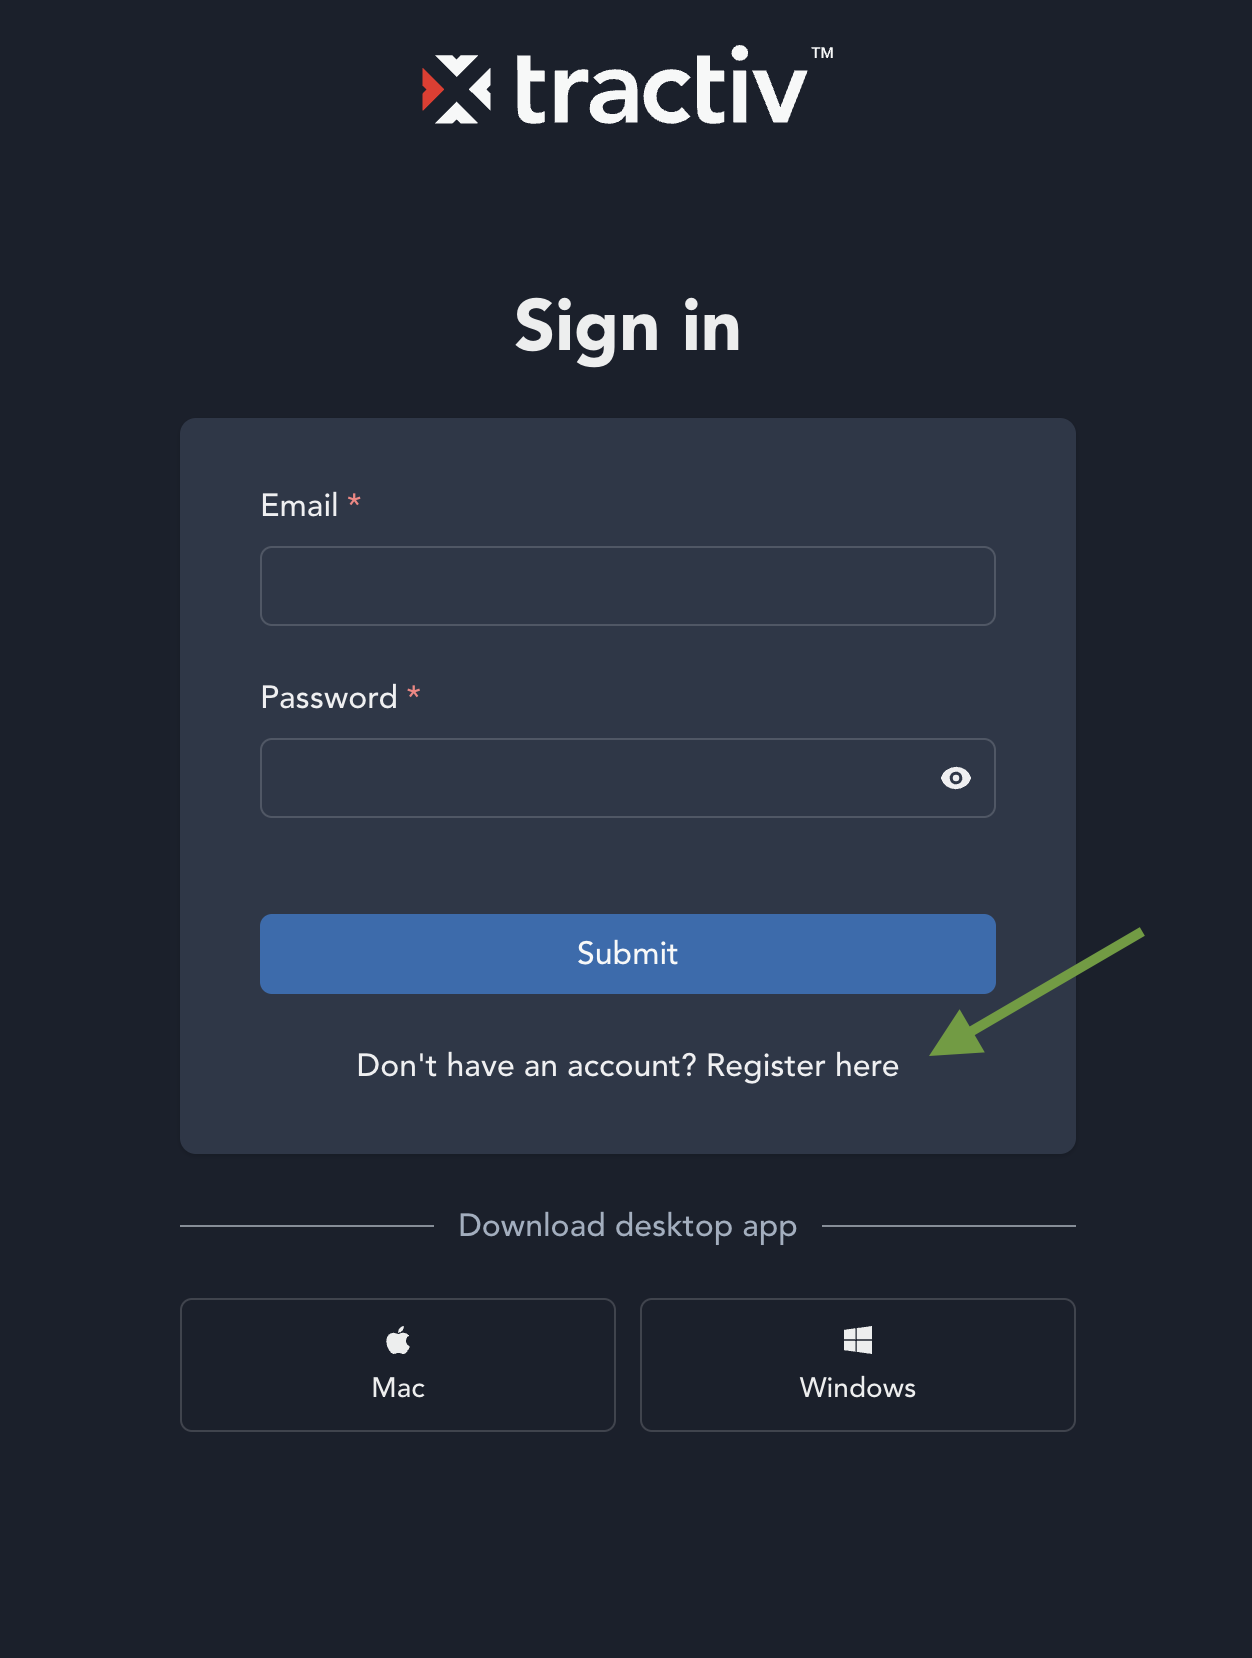
If this is your first time logging in, you will need to create an account at app.tractiv.com by clicking on 'register here' (shown below) or you will need to contact your employer for them to send you your proper credentials.
Two-Factor Authentication & Login#
As part of logging in for the very first time, you will need to have your two-factor authentication app ready. We suggest "Google Authenticator" for its ease of use. After entering your credentials you will be prompted to follow the setup steps below in the video. Once completed you will be logged in and ready to roll! As a side note, whenever returning to the app in the future, you will be prompted for a code for each login attempt.
Dashboard#
Your dashboard is the first page you will see upon login, this is where you will get quick information into what you have access to and what you have been working on previously. Below is an example and we will walk you through the information given to you.
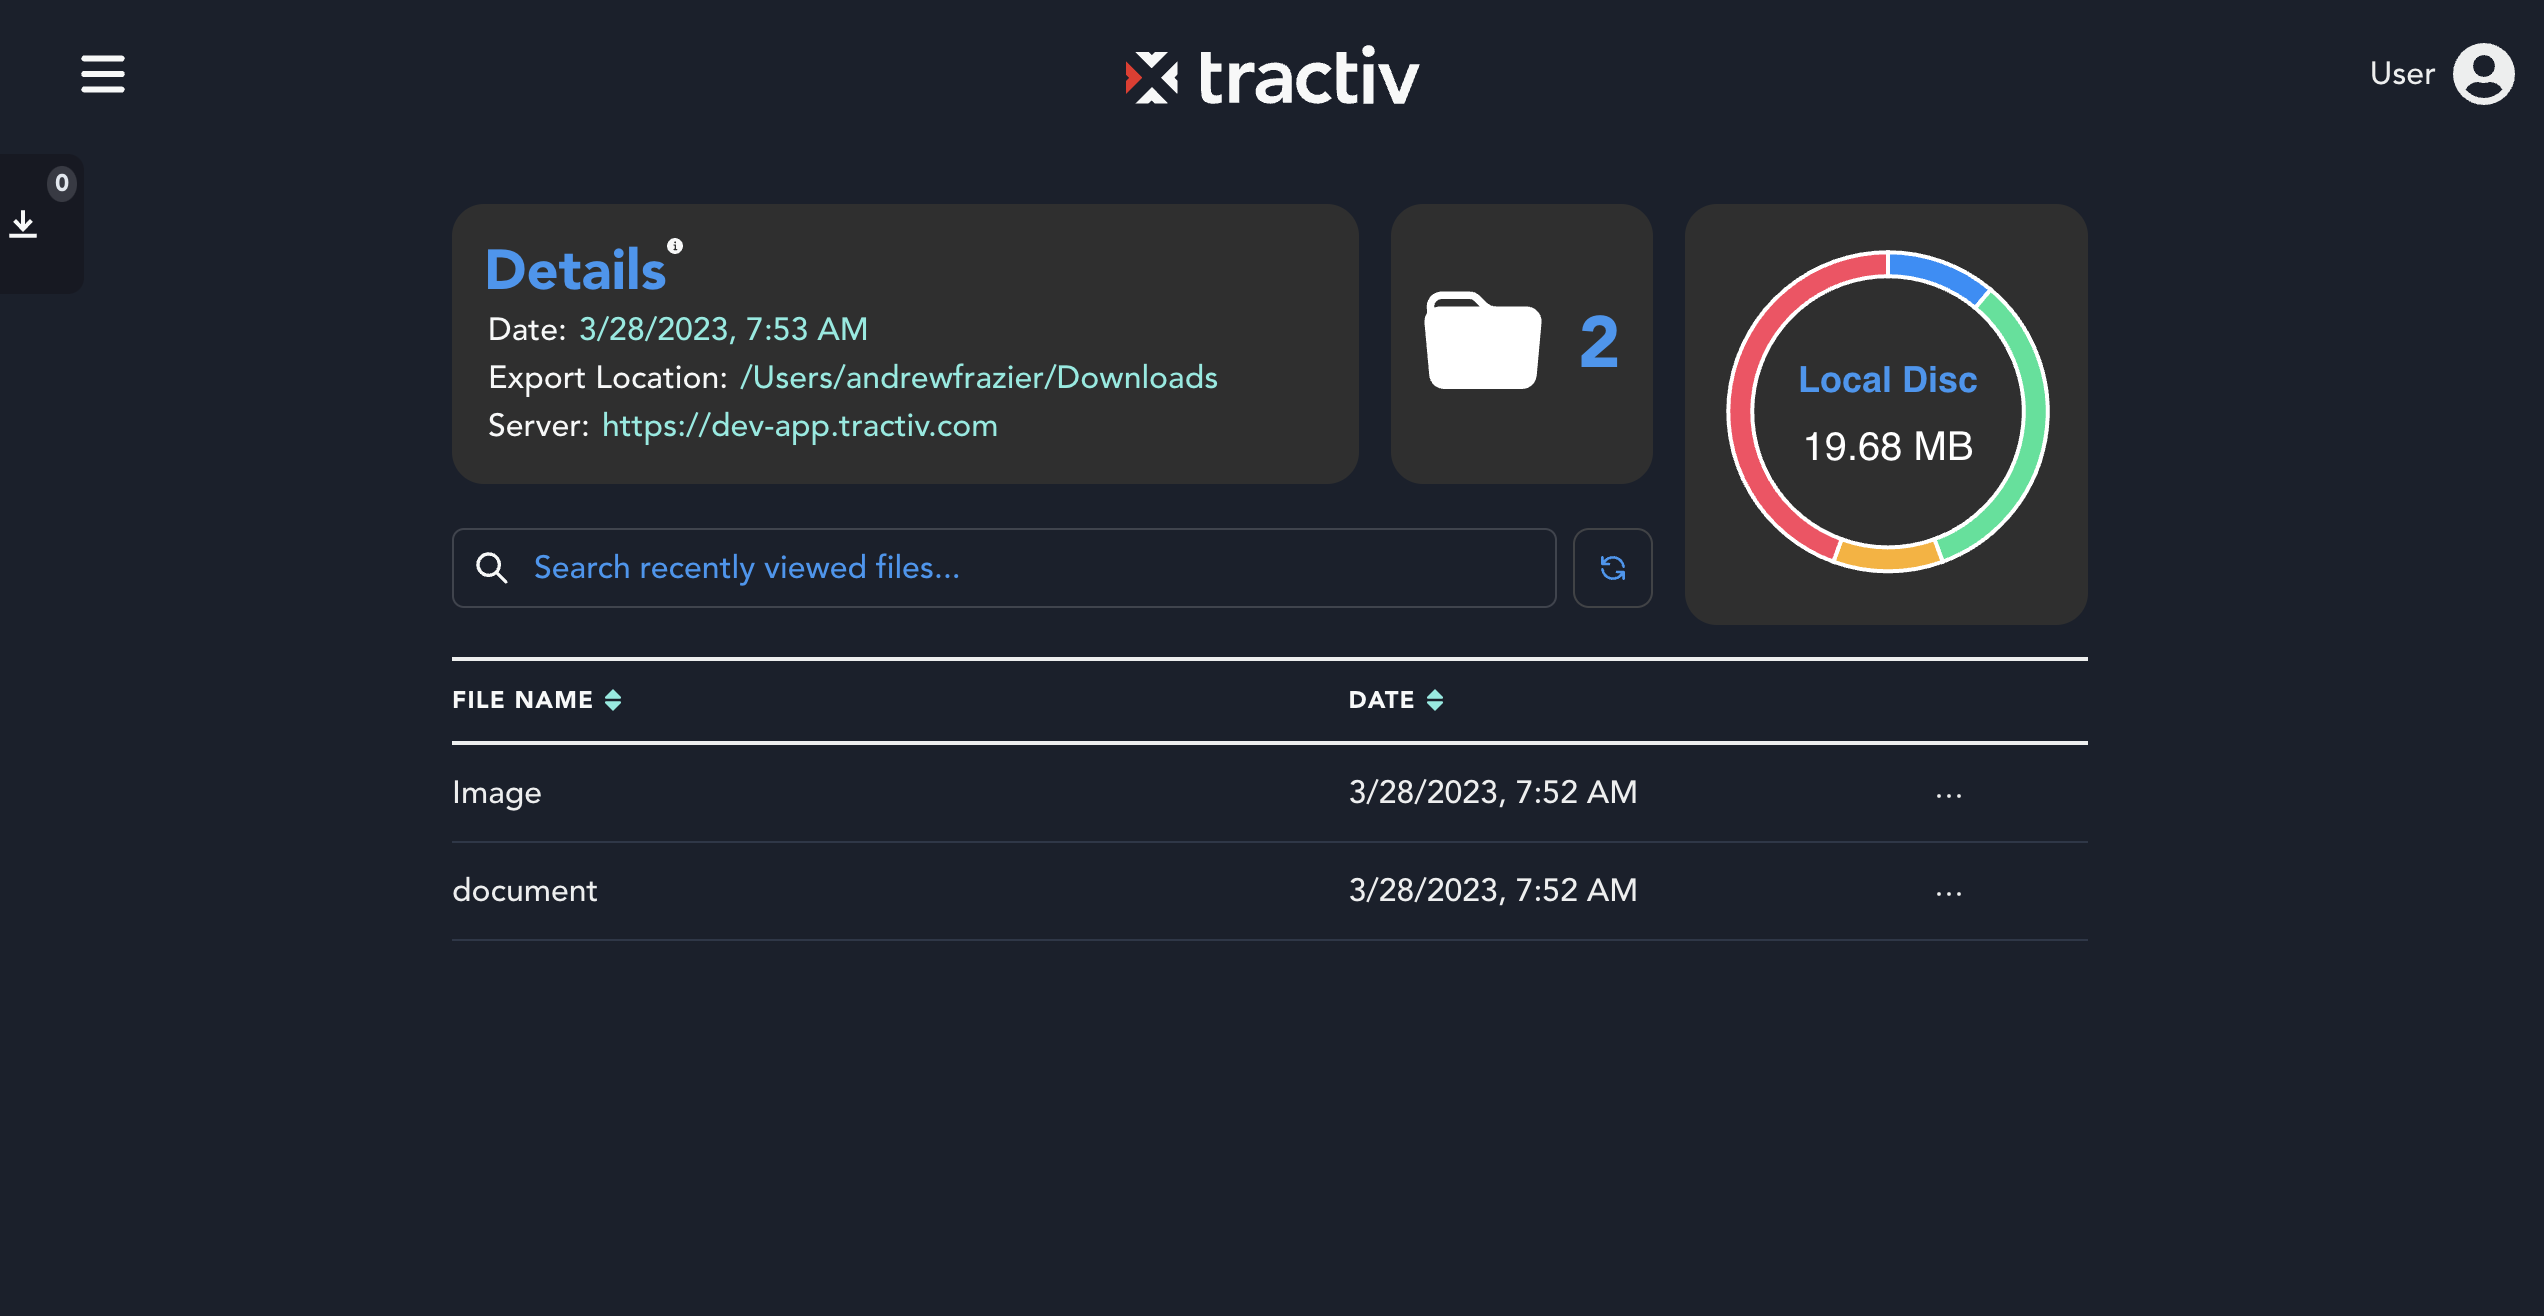
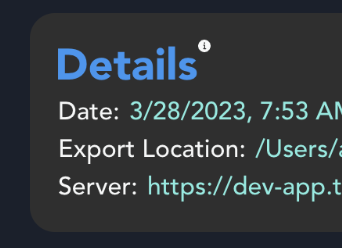
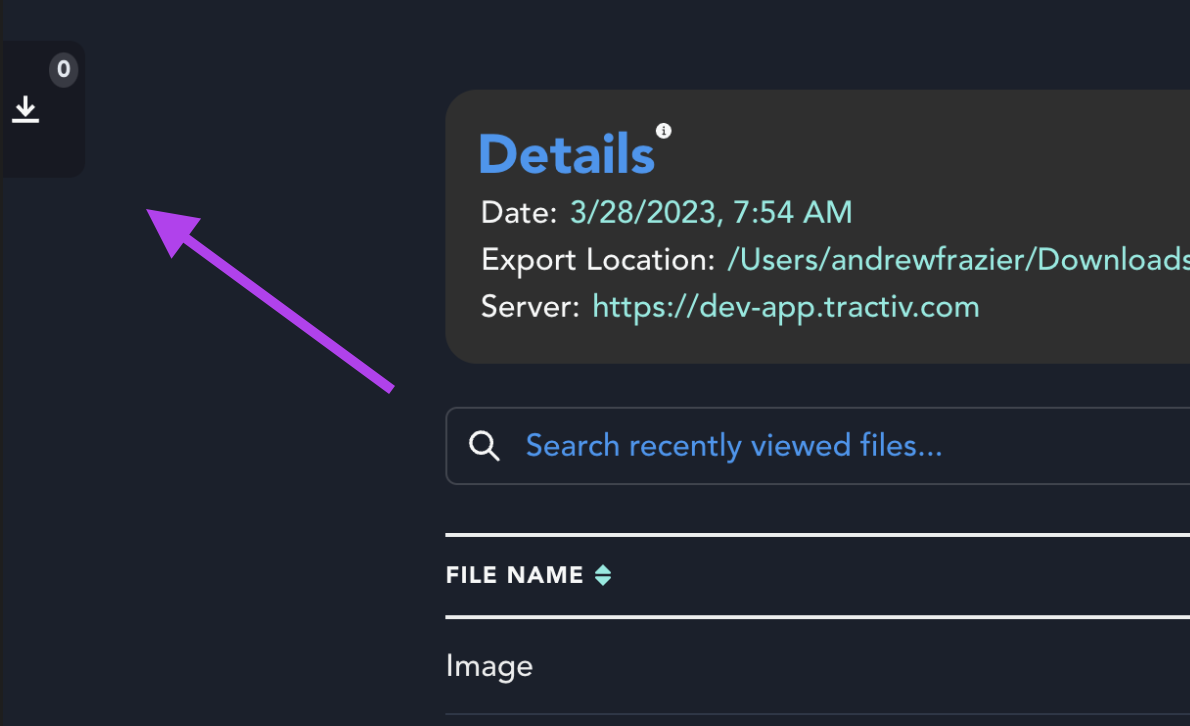
Details
The details section is there as a reminder to what you set up in settings before logging in. You can also change this information in your settings tab without having to logout and log back in. Also note that there is a tool tips icon indicated by the grey "i". If you hover over it you will receive info about what you are seeing. You will see this is various places throughout the application.
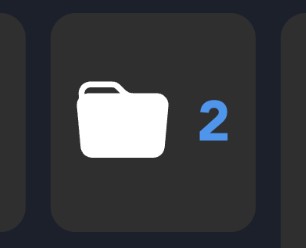
Projects
Projects are folders that you have access to and the number of projects you have access to are indicated by the project icon.
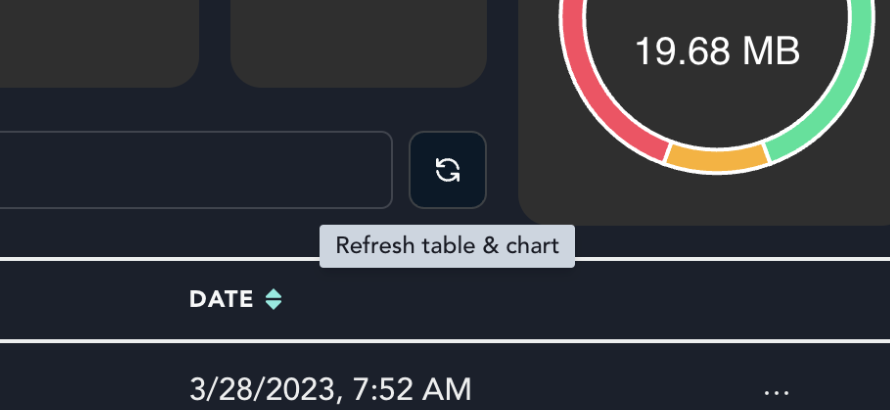
Local Disc
Local Disc is a representation of what files are downloaded to your application currently. When not hovered over the chart it will tell you how much storage space is being used, but when hovering over each color you will see files are organized by type, giving you a better indication of what you are working with.
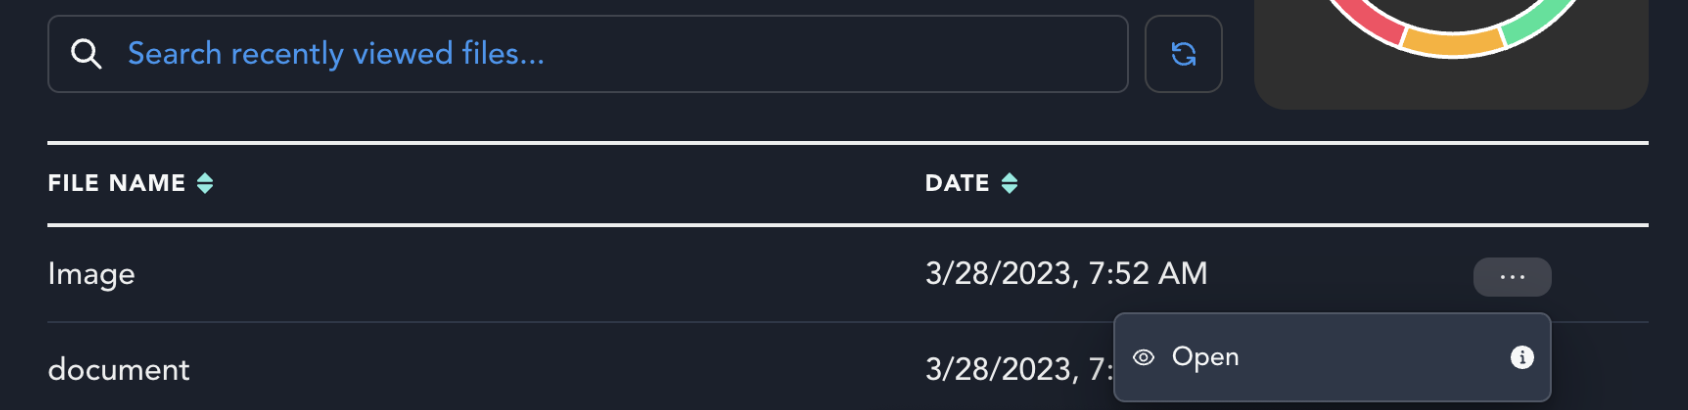
Recently Viewed
Recently viewed files are exactly what they seem. This allows you to see what you have already opened/viewed. You can view the file again by clicking on the ellipses or you can use the search bar to search for files by name. This is helpful to use from the dashboard rather than having to go back into the individual project. Keep in mind that the only action you can perform on a file from the dashboard is to open it. If you wish to perform more actions you can do so within the individual project.
Refresh
The refresh button is your friend just in case you think an action you performed on a file did not update the chart or the recently viewed files table. One quick click and it will refresh the chart and table data.
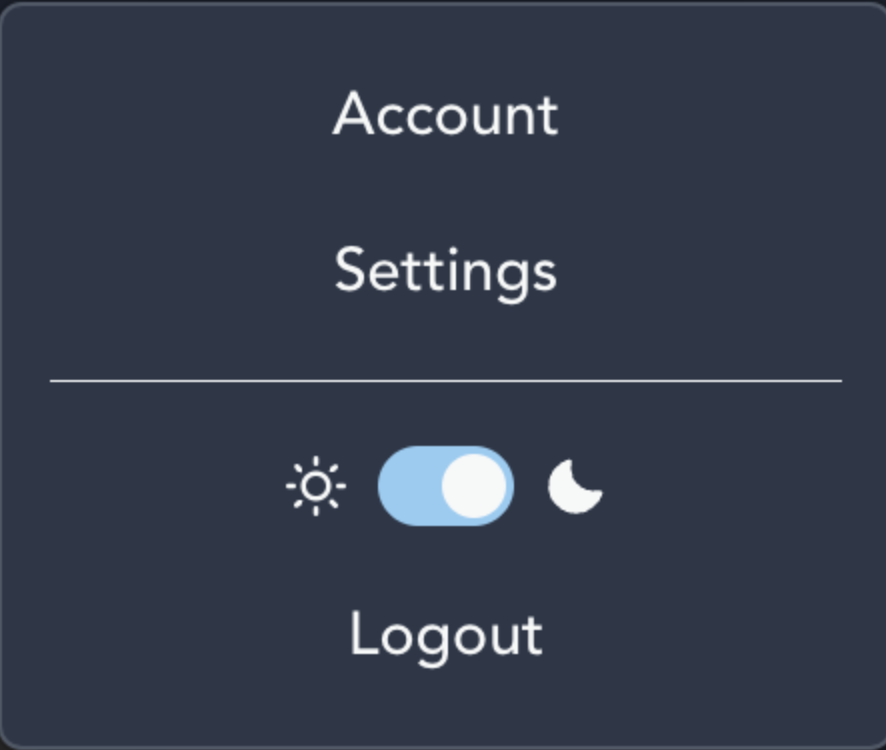
User Account
In the top right hand corner you will see a user icon. When clicking on the icon you have this list to choose from. You do have the ability to switch between light and dark mode as well as logout from any screen. Keep in mind if you logout you will have to go through two-factor login once again.
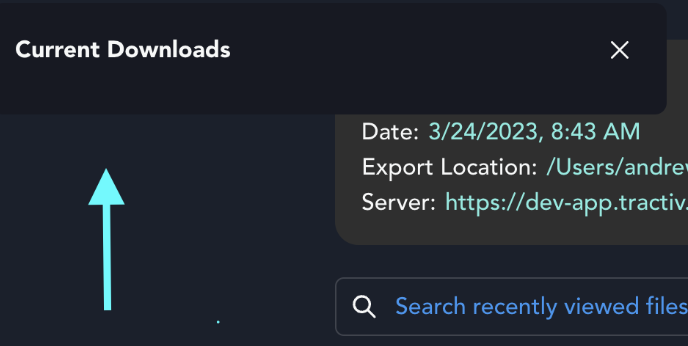
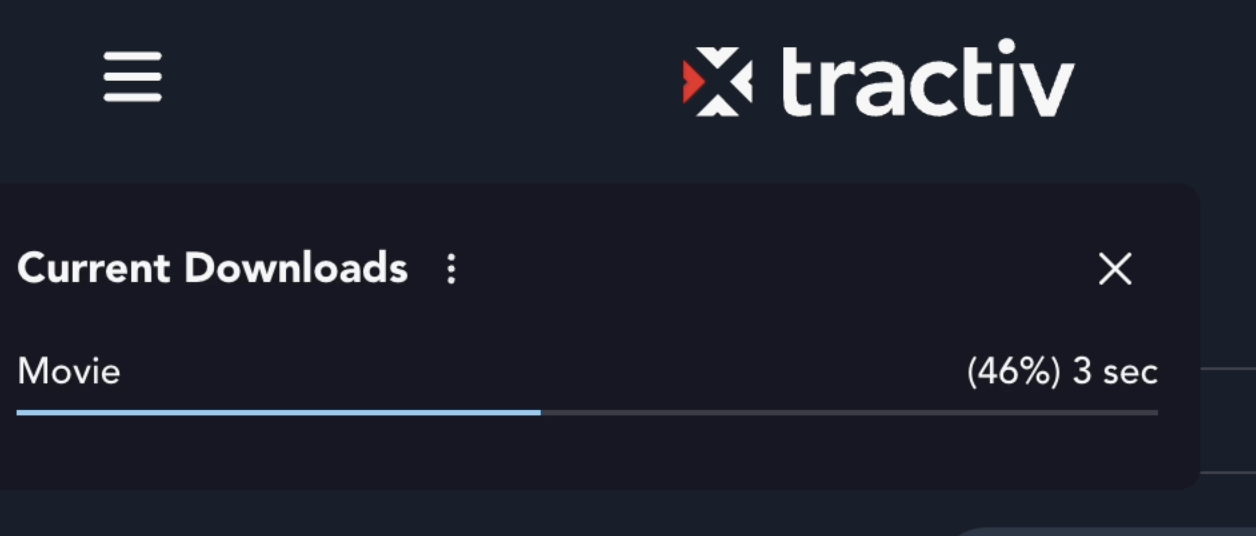
Downloads
Downloads will show up when downloading a file to the application within a project. Current downloads will show up in this sidebar on the left and you can click on the icon to open the slider wider. Keep in mind, most downloads will happen instantaneously and might not show. However, if the download does take time, you have the ability to see download progress, pause or cancel the current download.
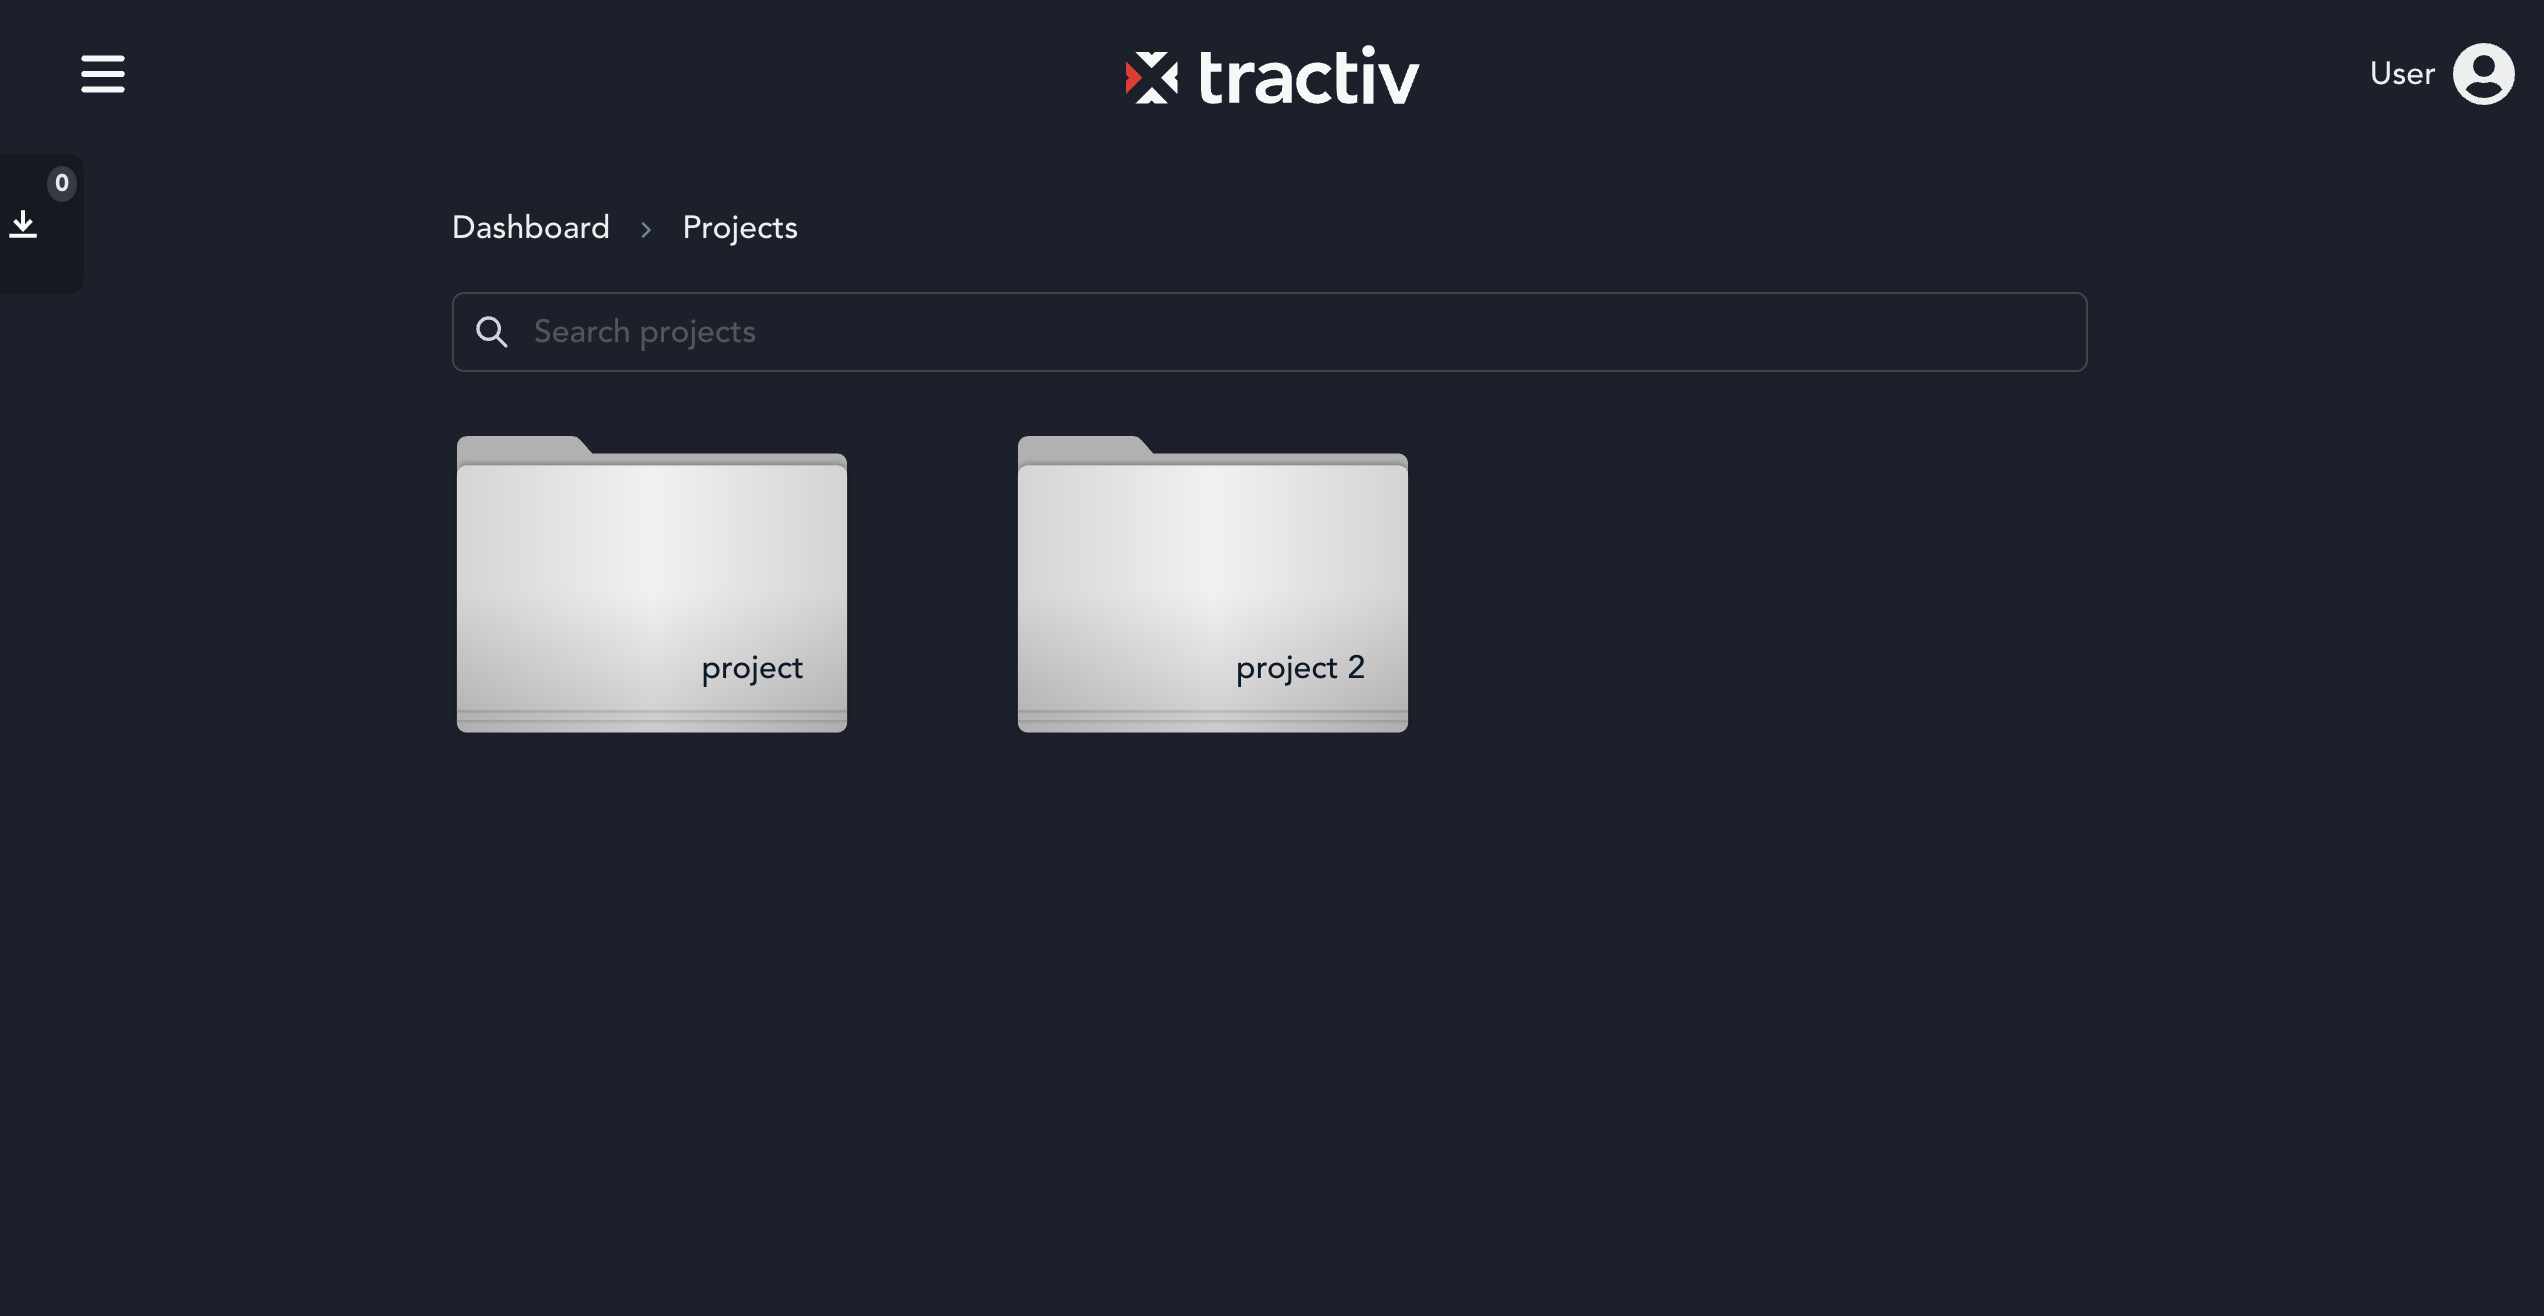
Projects#
This is where all of your projects will be found that you have access to. If there are multiple projects or you need to find one you have the ability to search for them in the search bar.
Individual Project Page#
When choosing a project you will be brought to the project's page. Here you will have access to the files inside and have the ability to upload, download, export and remove the file locally. These actions will be explained below.

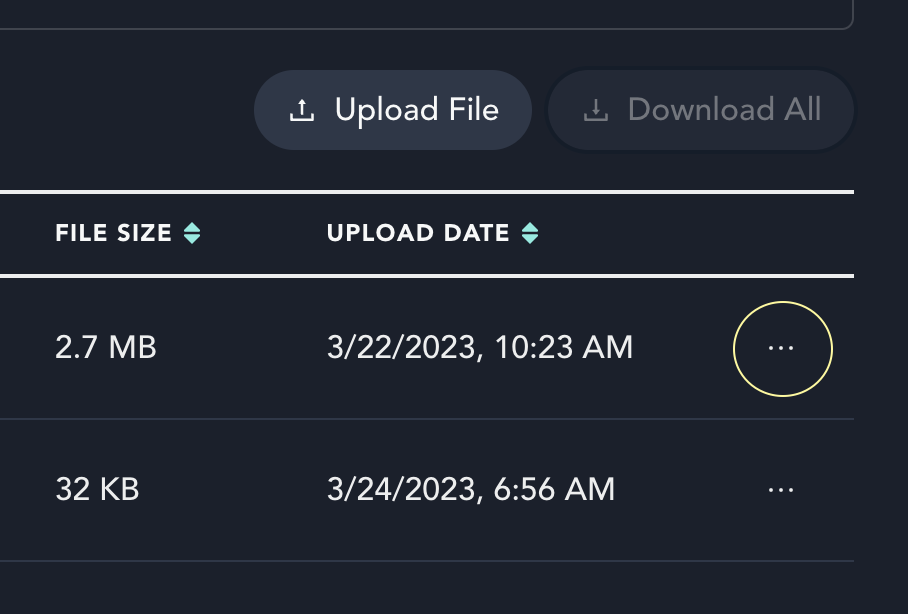
File Actions#
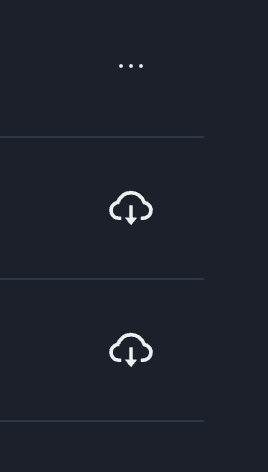
As stated before, you have different options to choose from when it comes to file actions. The ellipses circled in yellow is to show you where you need to click. When clicked you will see the file actions pop up. You also have the cloud icon, which means that a file is available for you to see but you need to download it from the cloud to the application on your computer before you can use view it or work with it.
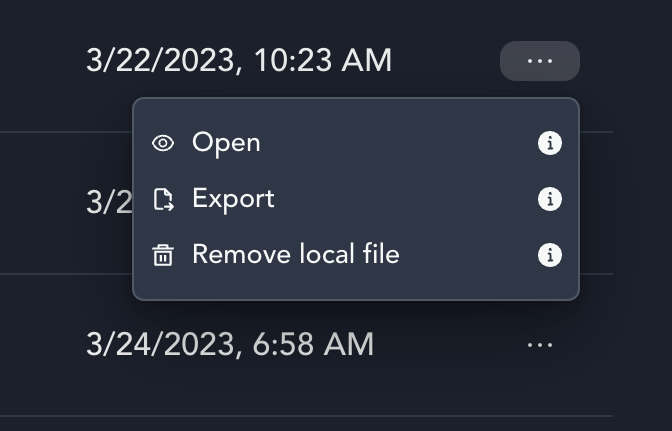
File Action Types#
Files types are stated as such:
Open - Opens the file in its default application. For example, a photo will be opened in "Preview" on Mac.
Export - Exporting, is a file being moved from the application itself to your local computer. Exporting is used as the terminology for this action because one may download a file from the cloud to the application but then export that file from the application to your desktop or chosen export location. We did not want the confusion of two different download actions.
Remove Local File - This can be used to clear space from your local disc. It will remove the file from your local application but will still remain in the cloud. Therefore you can re-download it if need be as long as you still have access to the file.
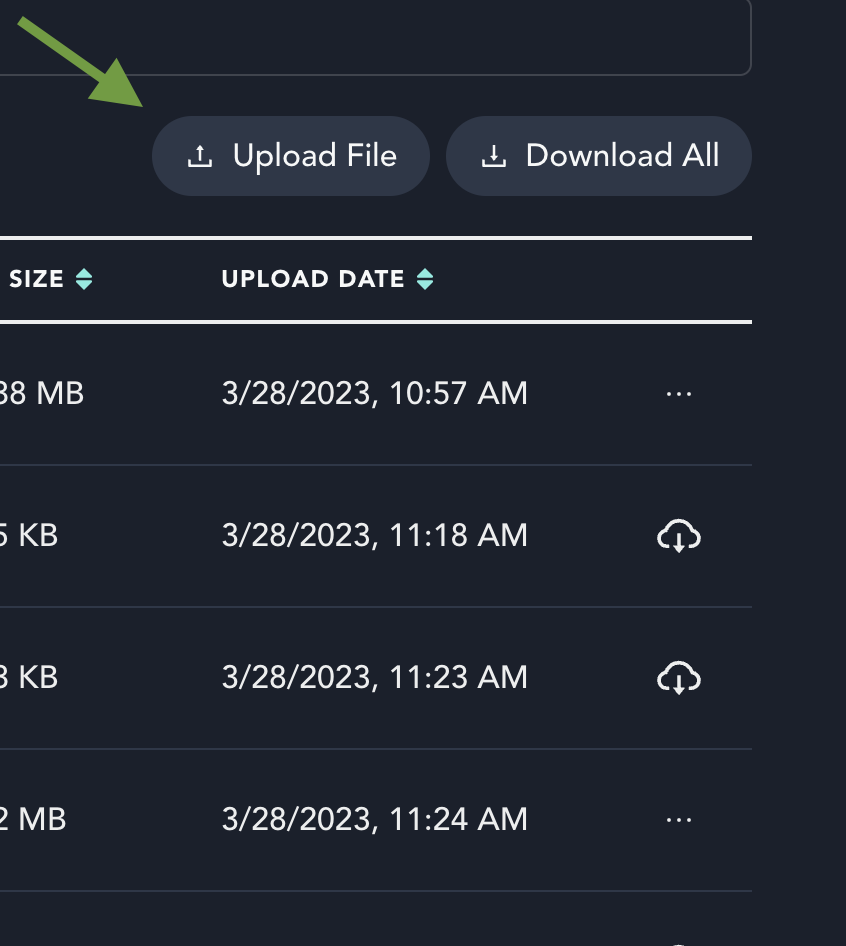
Download - A file is available to download when it shows the cloud icon. You may also download all by choosing the button at the top of the page. You can see 'Download All' in the photo under 'upload.'
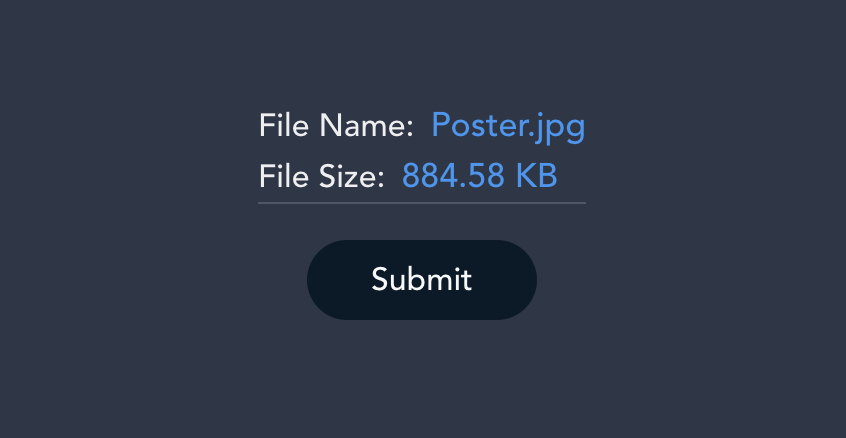
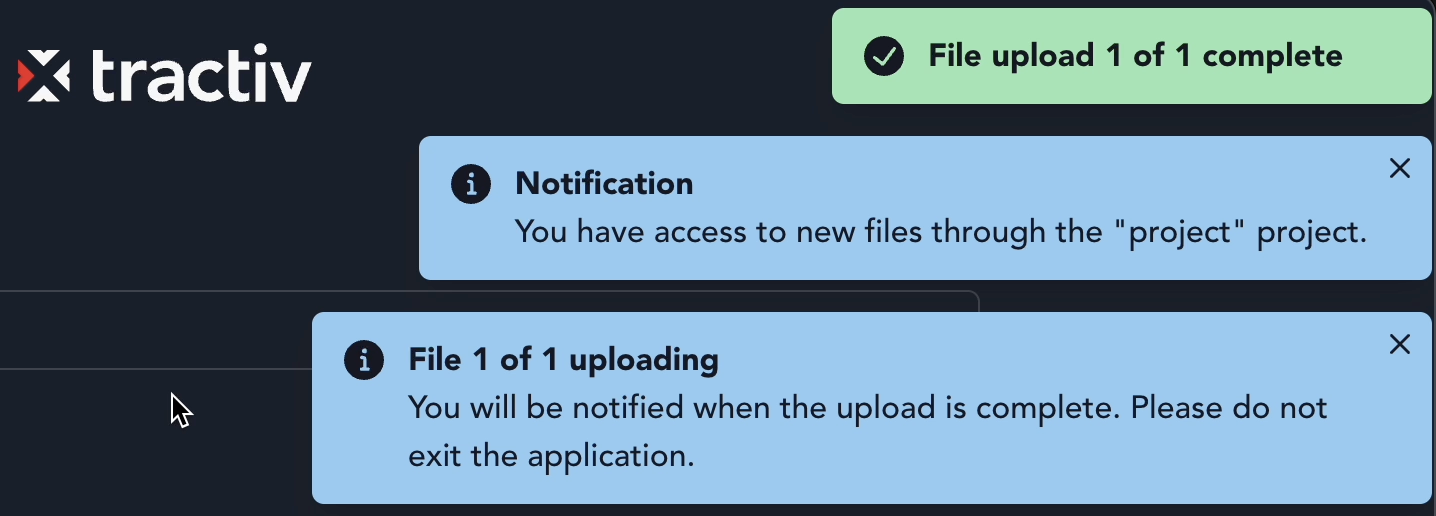
Upload - Uploading a file from your computer is done through the button at the top of the table indicated by the green arrow. Upon clicking, a popup will appear asking you to choose a file from your computer. At the moment, you are only able to upload one file at a time. When you have selected your file you will be prompted with a submit screen. Submit, and the file will be brought to the application.
You may see a few notifications on the right side the of screen letting you know the progress and success of submission though most submissions will happen instantaneously.
Account and Settings#
Dropdown Options
As stated before, in the top right hand corner you have your user icon and you are given a list to chose from. Below is that list once again. By choosing either account or settings you will be brought into the settings page. Here we make small yet important changes as well as making sure our own information is correct.
Settings Tab
This is exactly the same information that we entered on intial setup just before login. The application will not run to begin with, if it does not have an export location or a proper server to point to. In this use case, in settings, we give you the opportunity to make changes inside the applications without having to logout and log back in. For clarification on either of these inputs, please also refer to intial setup once again.
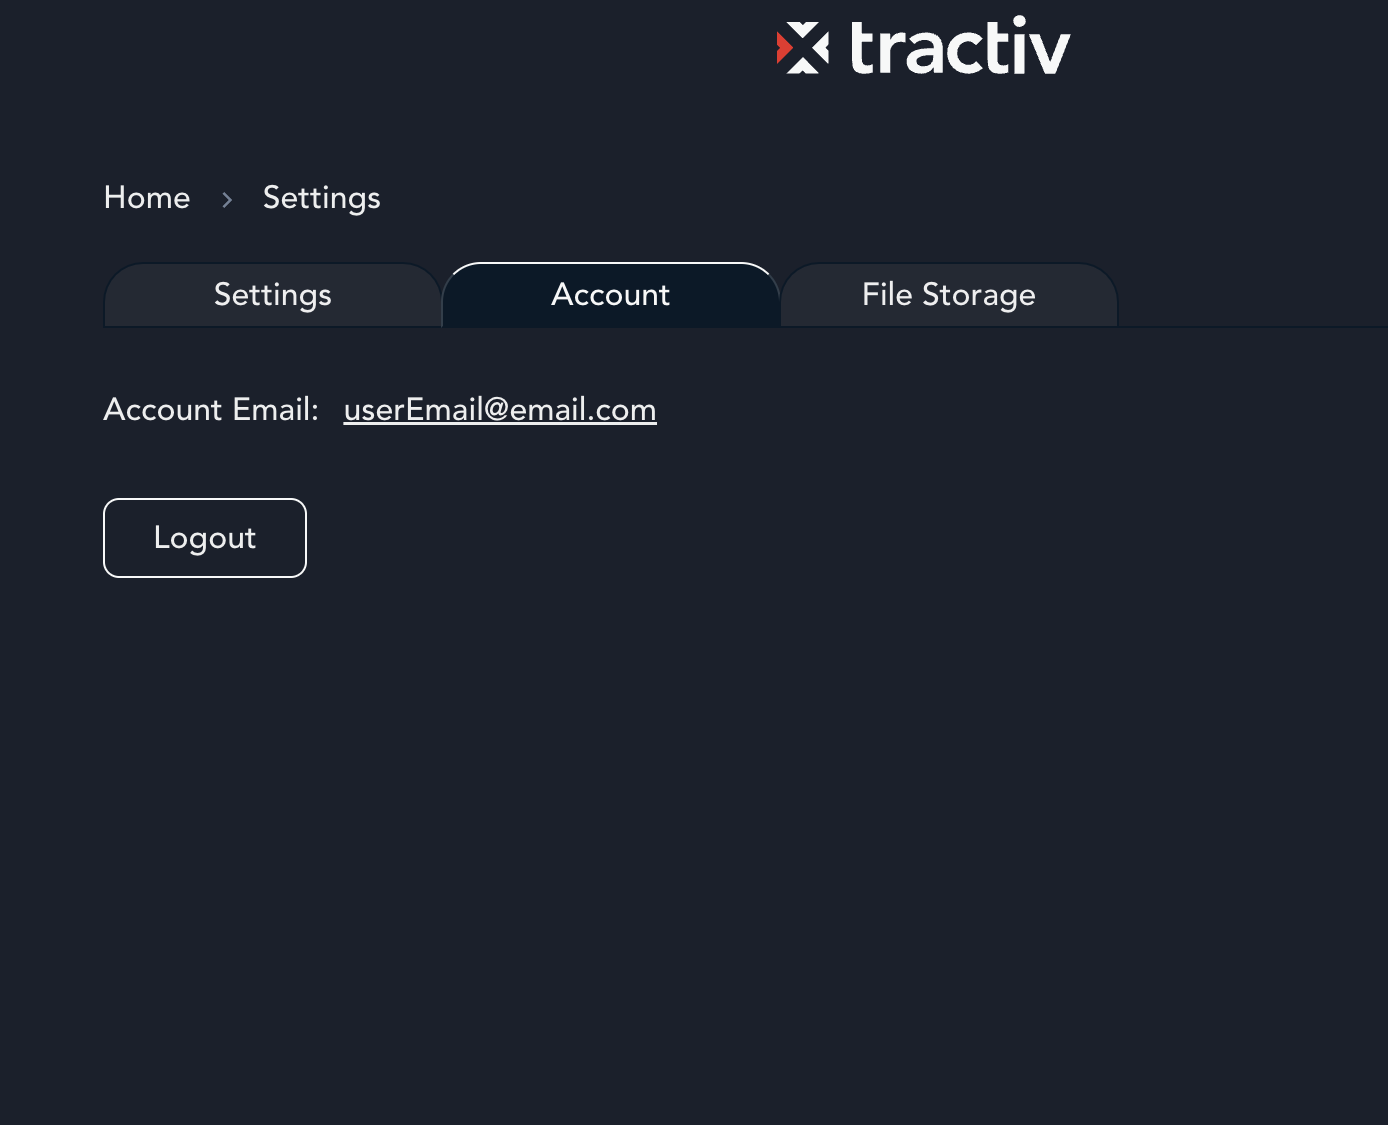
Account Tab
As basic as it sounds, making sure we have the proper email address associated to our account is important. This information can be found in the account tab and much more info will be provided in this tab in the near future.
File Storage Tab
This tab directly relates to the amount of space on your local-disc. If you are needing to clear out a lot of space quickly, clicking each individual file to remove locally could be a pain inside your project. This button will do as expected and remove all files in all projects that you have access to from your local computer. Keep in mind, this is not you revoking your access to them. If you need to download them once again, you have the ability to by going back to the individual project and downloading needed files once again. Refer to prior documentation or links as needed.
